
Trailer Hitch Installation: Unlock New Possibilities for Your Vehicle
A trailer hitch is one of the most practical upgrades you can add to your vehicle, expanding its functionality beyond daily commuting. Whether you want to tow a camper for a weekend getaway, haul equipment for work, or attach a bike rack for outdoor adventures, installing a trailer hitch can transform your vehicle’s capabilities. This guide will walk you through the benefits of a trailer hitch, different hitch types, installation steps, and key safety considerations.
Why Install a Trailer Hitch?
A trailer hitch isn’t just for towing heavy loads; it opens up a world of possibilities. Here are some of the primary reasons vehicle owners choose to install a trailer hitch:
1. Increased Towing Capabilities
You can tow trailers, boats, RVs, and more with a properly installed hitch. They are particularly useful for road trips, moving furniture, or transporting large items that wouldn’t fit inside your vehicle.
2. Enhanced Cargo Space
Hitch-mounted cargo carriers and other cargo solutions allow you to free up space inside your car by providing extra storage for luggage, camping gear, or tools. This is especially beneficial for SUVs and smaller vehicles with limited trunk space.
3. Recreational Equipment Transport
A hitch allows you to mount bike racks, kayak carriers, and other accessories, making it easy to transport gear for outdoor adventures. Investing in towing accessories like hitch locks, safety chains, and wiring harnesses further enhances convenience and security.
4. Improved Work Efficiency
If you use your vehicle for work, a trailer hitch can help you haul construction materials, lawn equipment, or other tools necessary for your business.
Types of Trailer Hitches
Before installing a hitch, it’s important to understand the different types available to ensure you choose the right one for your needs.
1. Receiver Hitches
Receiver hitches are the most common and come in different classes based on towing capacity:
- Class I (1,000–2,000 lbs) – Best for bike racks and small trailers.
- Class II (2,000–3,500 lbs) – Suitable for small boats and utility trailers.
- Class III (3,500–8,000 lbs) – Ideal for midsize campers and boats.
- Class IV (5,000–10,000 lbs) – Used for large trailers and heavy loads.
- Class V (10,000+ lbs) – Designed for heavy-duty trucks and commercial towing.
2. Fifth-Wheel and Gooseneck Hitches
These hitches, such as those for large RVs or livestock trailers, are used for heavy-duty towing. They attach to the truck bed rather than the rear bumper.
3. Bumper-Mounted Hitches
A bumper-mounted hitch is a simple option for light-duty towing, bike racks, or small cargo carriers.
How to Install a Trailer Hitch
Installing a trailer hitch is a manageable DIY project but it requires the right tools and careful attention to detail. Here’s a step-by-step guide:
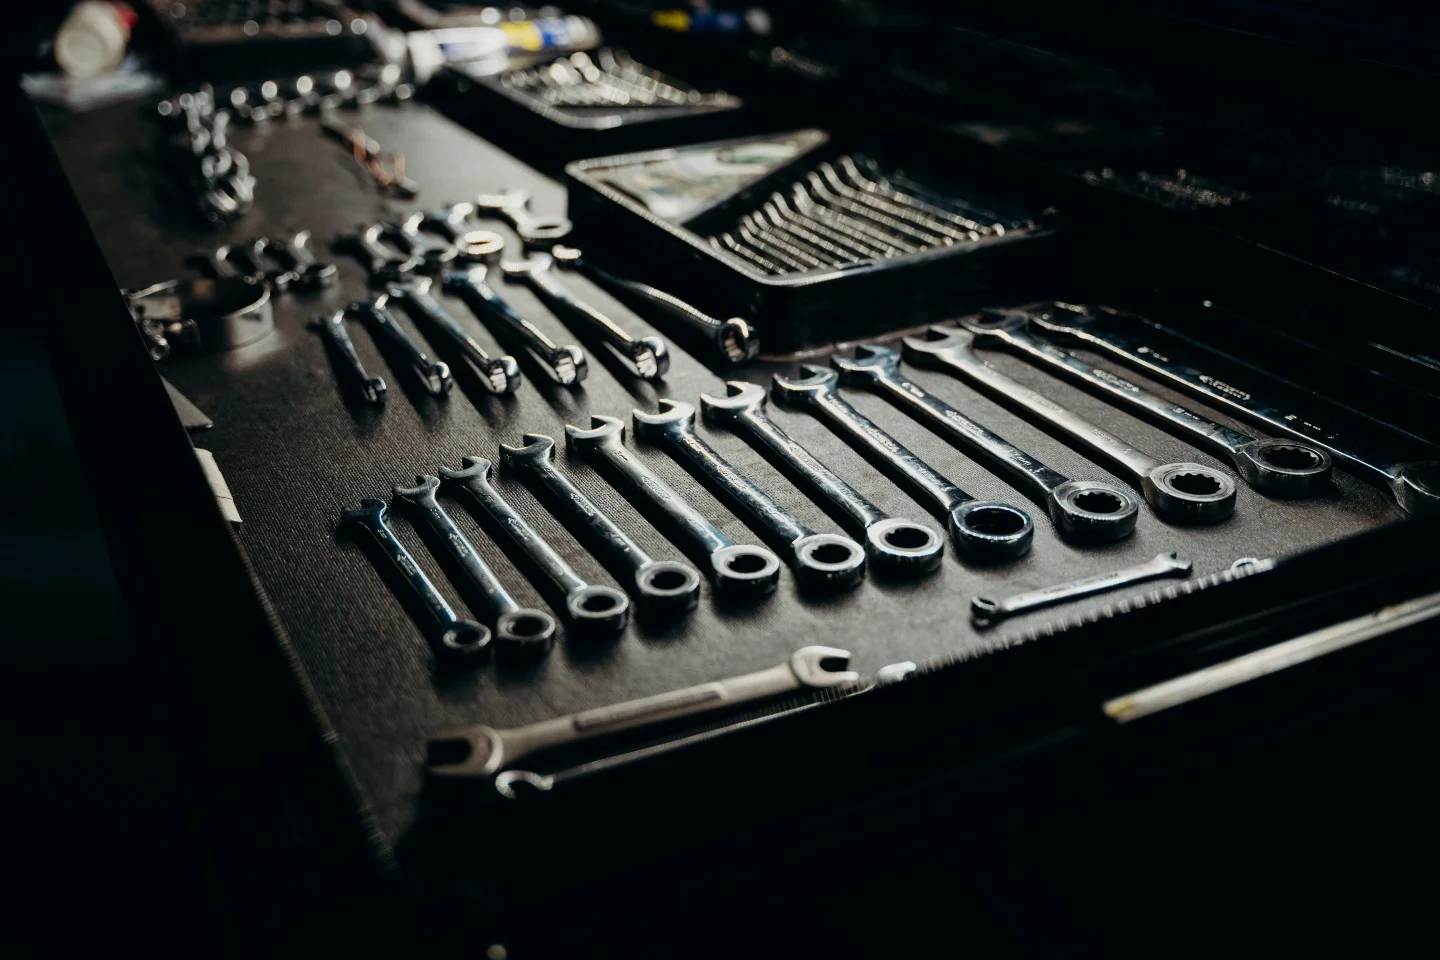
Tools and Materials Needed:
- Trailer hitch kit
- Socket wrench set
- Torque wrench
- Drill (if needed)
- Safety goggles and gloves
- Jack stands (if necessary)
Installation Steps:
- Check Compatibility – Ensure the hitch is compatible with your vehicle’s make and model. Your owner’s manual will provide guidance on towing capacity and mounting points.
- Prepare Your Vehicle – Park on a flat surface, engage the parking brake, and, if necessary, raise the vehicle with a jack for easier access to the mounting area.
- Position the Hitch – Hold the hitch up to the mounting points under the rear of your vehicle. Some vehicles have pre-drilled holes, while others may require drilling.
- Secure the Hitch – Use the provided bolts and washers to attach the hitch to the frame. Hand-tighten the bolts first to align everything properly.
- Torque the Bolts – Use a torque wrench to tighten the bolts to the manufacturer’s recommended torque specifications. Over-tightening or under-tightening can compromise safety.
- Check Clearance and Stability – Ensure the hitch is secure and check for any obstructions that might interfere with towing.
- Attach Accessories – If you’re using a ball mount, cargo carrier, or bike rack, install it according to the manufacturer’s instructions.
Safety Considerations
A properly installed hitch enhances your vehicle’s capability, but safety should always be a priority. Here are key precautions to keep in mind:
1. Know Your Vehicle’s Towing Capacity
Exceeding your vehicle’s maximum towing limit can strain the engine, transmission, and brakes, leading to dangerous driving conditions.
2. Use the Right Trailer Hitch Class
Choose a hitch class that matches your towing needs to prevent instability and accidents.
3. Secure Your Load Properly
Use safety chains, tie-down straps, and hitch locks to secure your load. Always double-check connections before driving.
4. Be Aware of Trailer Sway
Strong winds, improper weight distribution, or excessive speed can cause trailer sway. A weight distribution hitch or sway control device can help stabilize your load.
5. Regularly Inspect Your Hitch
Before each trip, inspect the hitch, bolts, and wiring for any signs of wear, rust, or damage. Replace any worn-out components immediately.
Final Thoughts
A trailer hitch installation is a game-changer for your vehicle, providing added versatility for work, travel, and recreation. Whether hauling cargo, towing a trailer, or transporting outdoor gear, a properly installed hitch makes the process safer and more efficient. By selecting the right hitch, following installation guidelines, and prioritizing safety, you can unlock new possibilities and maximize your vehicle’s capabilities.
STAY CONNECTED
Follow us online to keep up on future updates, discounts, new products, and new projects.